PolytempoNetwork
Quick Start
Download PolytempoNetwork from polytempo.zhdk.ch.
Double click the application to launch it.
⟶ Depending on your computer's security settings, the operating system may complain about an unidentified developer and deny opening the application. In that case, you have to take the usual measures to bypass this security mechanism.
Select 'Open' from the 'File' menu and choose a polytempo score file (a text file with the extension ptsco). For instance, the one that is provided in the ExampleProject.
⟶ Together with the score file, the application also loads several image files. The relative paths to these image files are stored in the score file. Therefore, it is necessary not to change the relative locations of the score file and the image files.
Once the music appears on screen, click Start / Stop (or hit the space bar) to activate the playback.
On the right hand side of the window, there is a panel that shows the current position in the piece and provides several buttons to navigate through the score and control the playback.
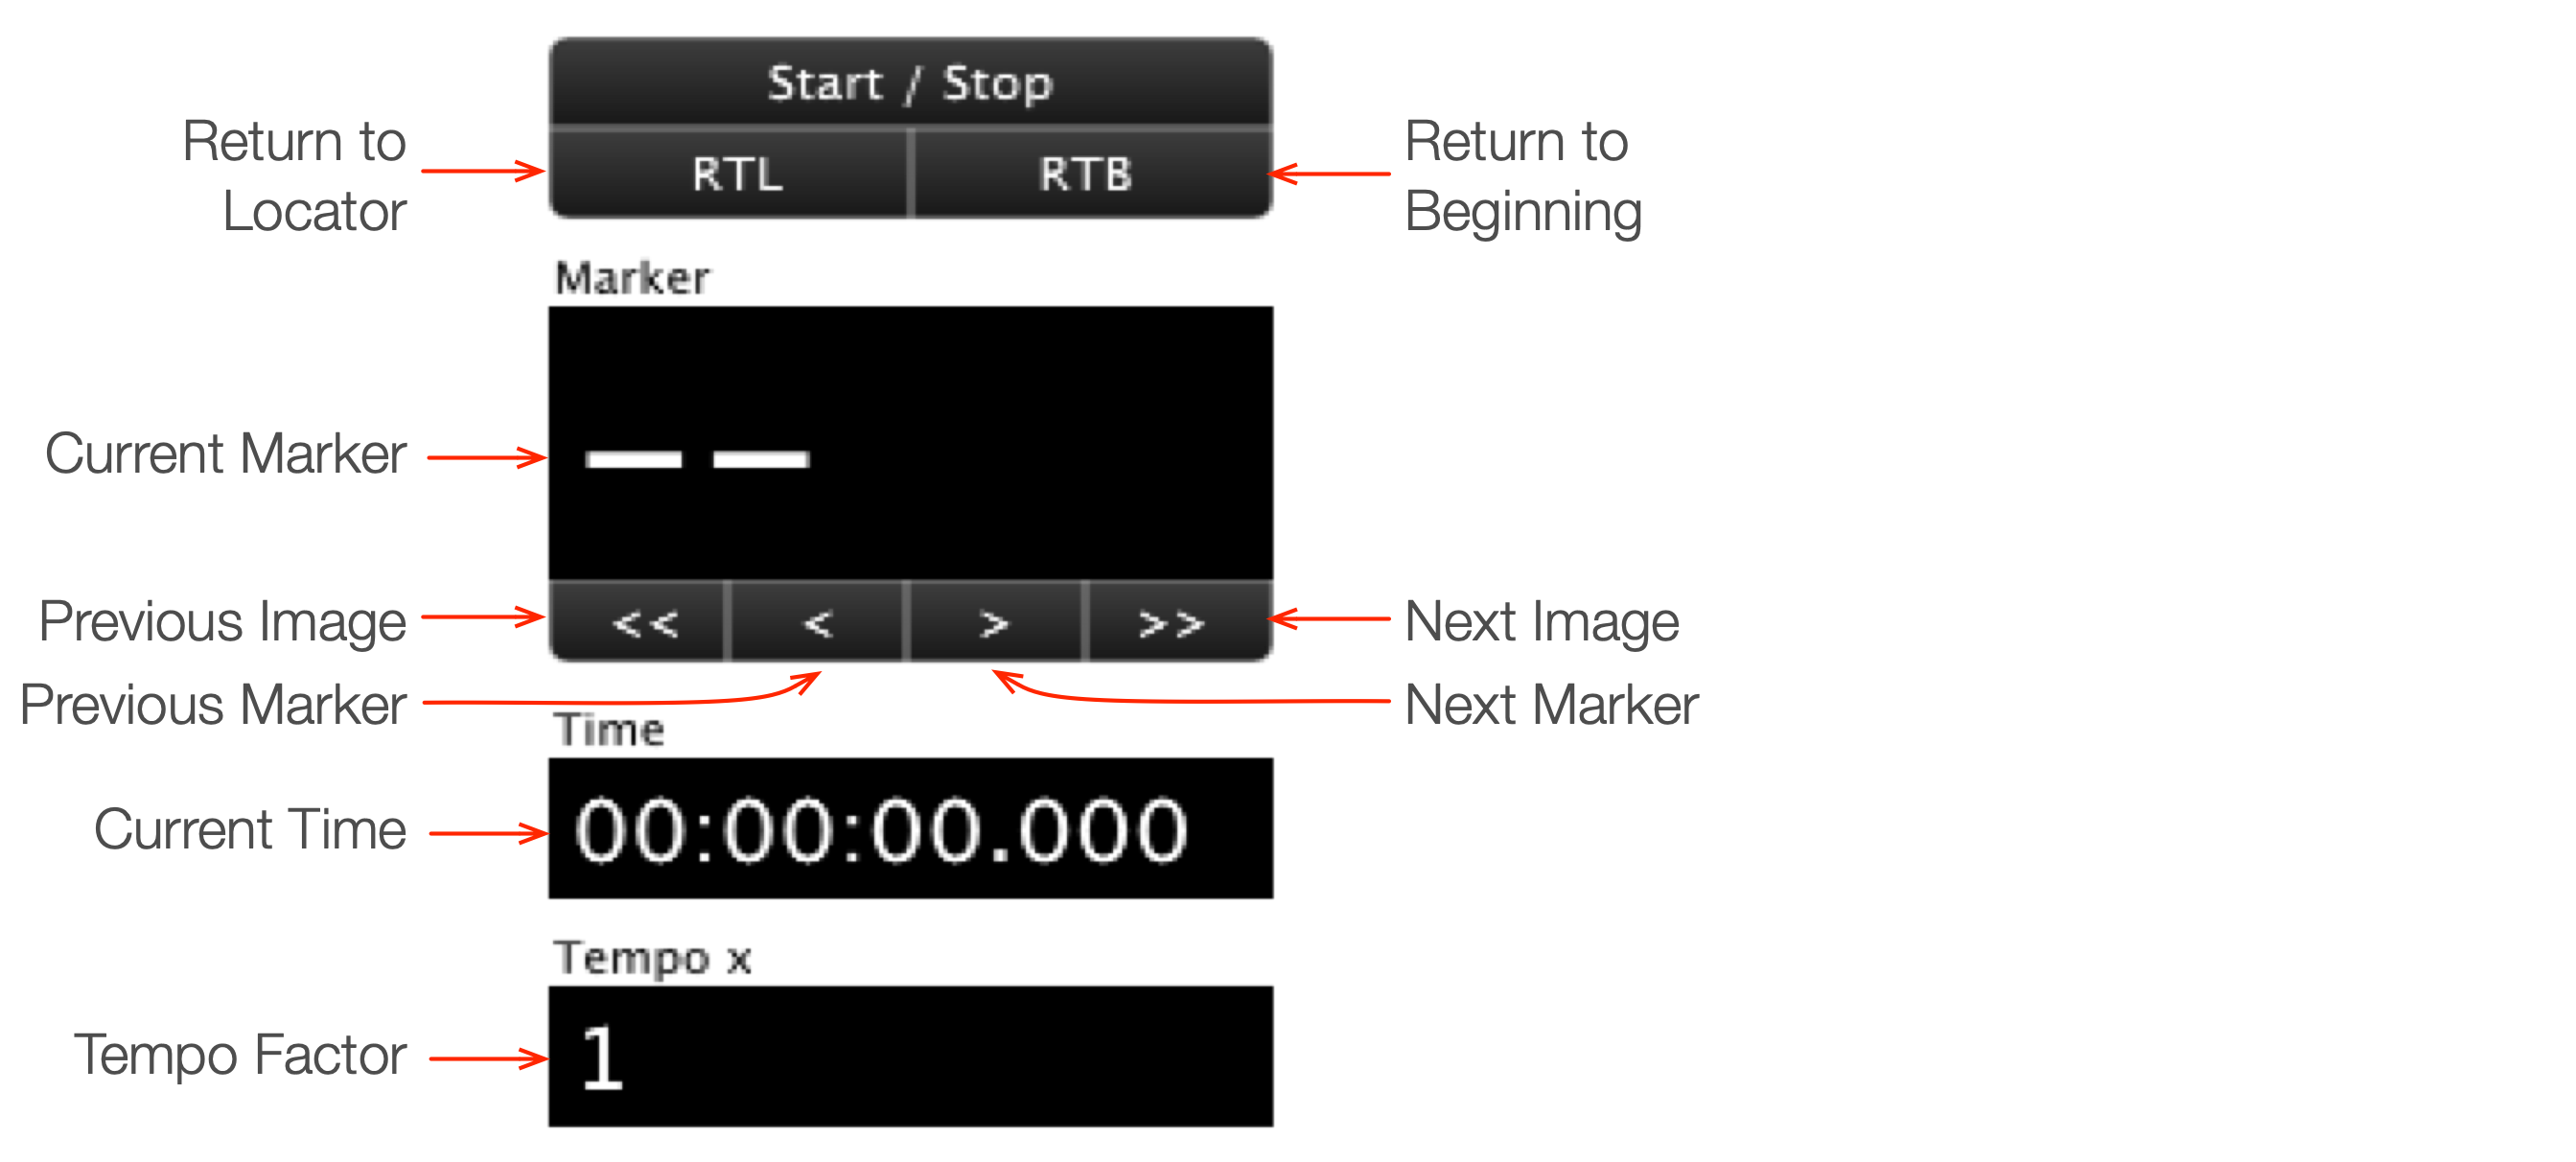
With RTL you can return to the locator, i.e. to the last manually entered position. With RTB you can jump back to the very beginning of the piece.
Markers are arbitrary tags set by the creator of the polytempo score file. They usually correspond to bar numbers, but they can also be used in other ways, e.g. to indicate rehearsal letters. You can use the arrow buttons to jump to the previous/next location identified by a marker or to the previous/next location where the displayed image changes. The latter is somewhat similar to turning pages.
You can jump to a specific position in the score by entering either a marker or a time in the corresponding field. This location is stored as a locator.
The overall tempo can be changed (e.g. slowed down for practice) by a tempo factor.
⟶ In order not to be interrupted in the midst of performing a piece by a darkening screen, you might want to disable any screen saving and energy saving settings on your computer.
Synchronisation
To play ensemble music with multiple instances of PolytempoNetwork, all devices must be connected to a (wired or wireless) local area network.
⟶ Hint for Apple users: If you intend to use a wired network, turn Wi-Fi off.
The View on the right hand side of the window displays the state of the network connection.
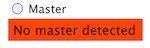
Without any synchronisation, the application indicates that it has not detected a "master". This is the default state. You can still open a polytempo score file and run it, e.g. to practice your part.
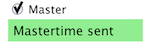
To play ensemble music you need to start multiple instances of PolytempoNetwork in sync. To this end, one of the instance has to be declared "master" by checking the correspondent box. As soon as the network synchronisation is established, the master instance displays that it has successfully sent a master time to all other instances.
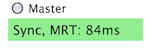
All other instances indicate that they have received the master time and are in sync mode.
In sync mode, all instances can still be operated as usual, i.e. they can individually be started and stopped. However, if the master instance is started, all other instances in the network follow and start in perfect sync, compensating for any network latency.
If the master instance is made to jump to a specific position in the score, e.g. to resume a piece from there in a rehearsal, all other instances jump to the same position. If there are differently timed scores — which is very likely in polytemporal music — the other instances jump to the nearest downbeat (beginning of a bar) and start delayed accordingly.
Any instance can be master. But there can only be one master at a time. If you try to check "master" on more than one instance, you will get an error.
Editing
Most of the time, you will use PolytempoNetwork's main view (where you can always return by selecting 'Show Main View' from the 'View' menu). Additionally, there are three editors, as described below.
Page Editor
In the Page Editor, you can edit the graphics that are displayed on-screen. Usually, these graphics are sheet music. To access the Page Editor select 'Show Page Editor' from the 'View' menu. The graphics are organised in images, sections, and instances. Images are graphics files (JPG or PNG, not PDF). If you want to replace a graphics files, you have to type its path relative to the score file in the corresponding input field or press the button 'Choose..'.

Sections are areas of the image file to be displayed at a specific time. You can change the bounds of a section by dragging the handles at the edges of the red rectangle.
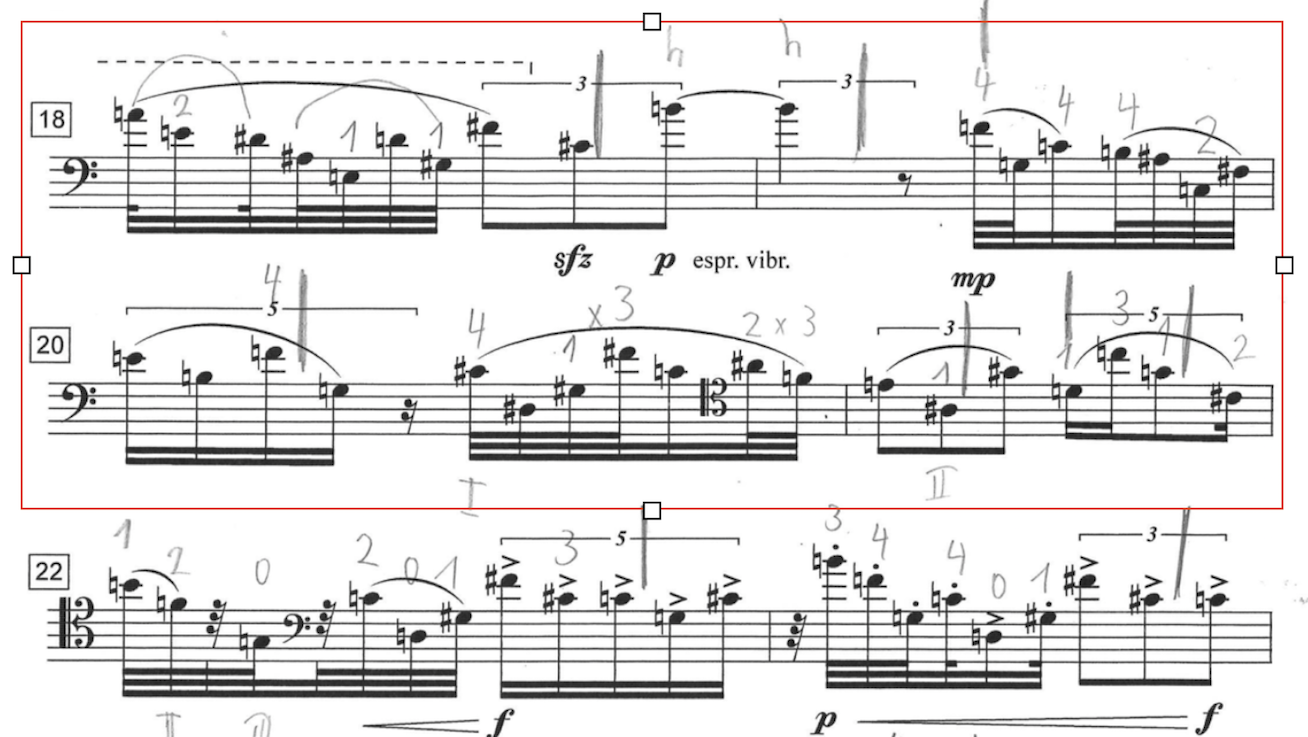
The bounds of a section can also be edited by typing the coordinate values in the corresponding input field. The values are relative to the size of the image, i.e. a width of 0.5 equals half the width of the image etc.
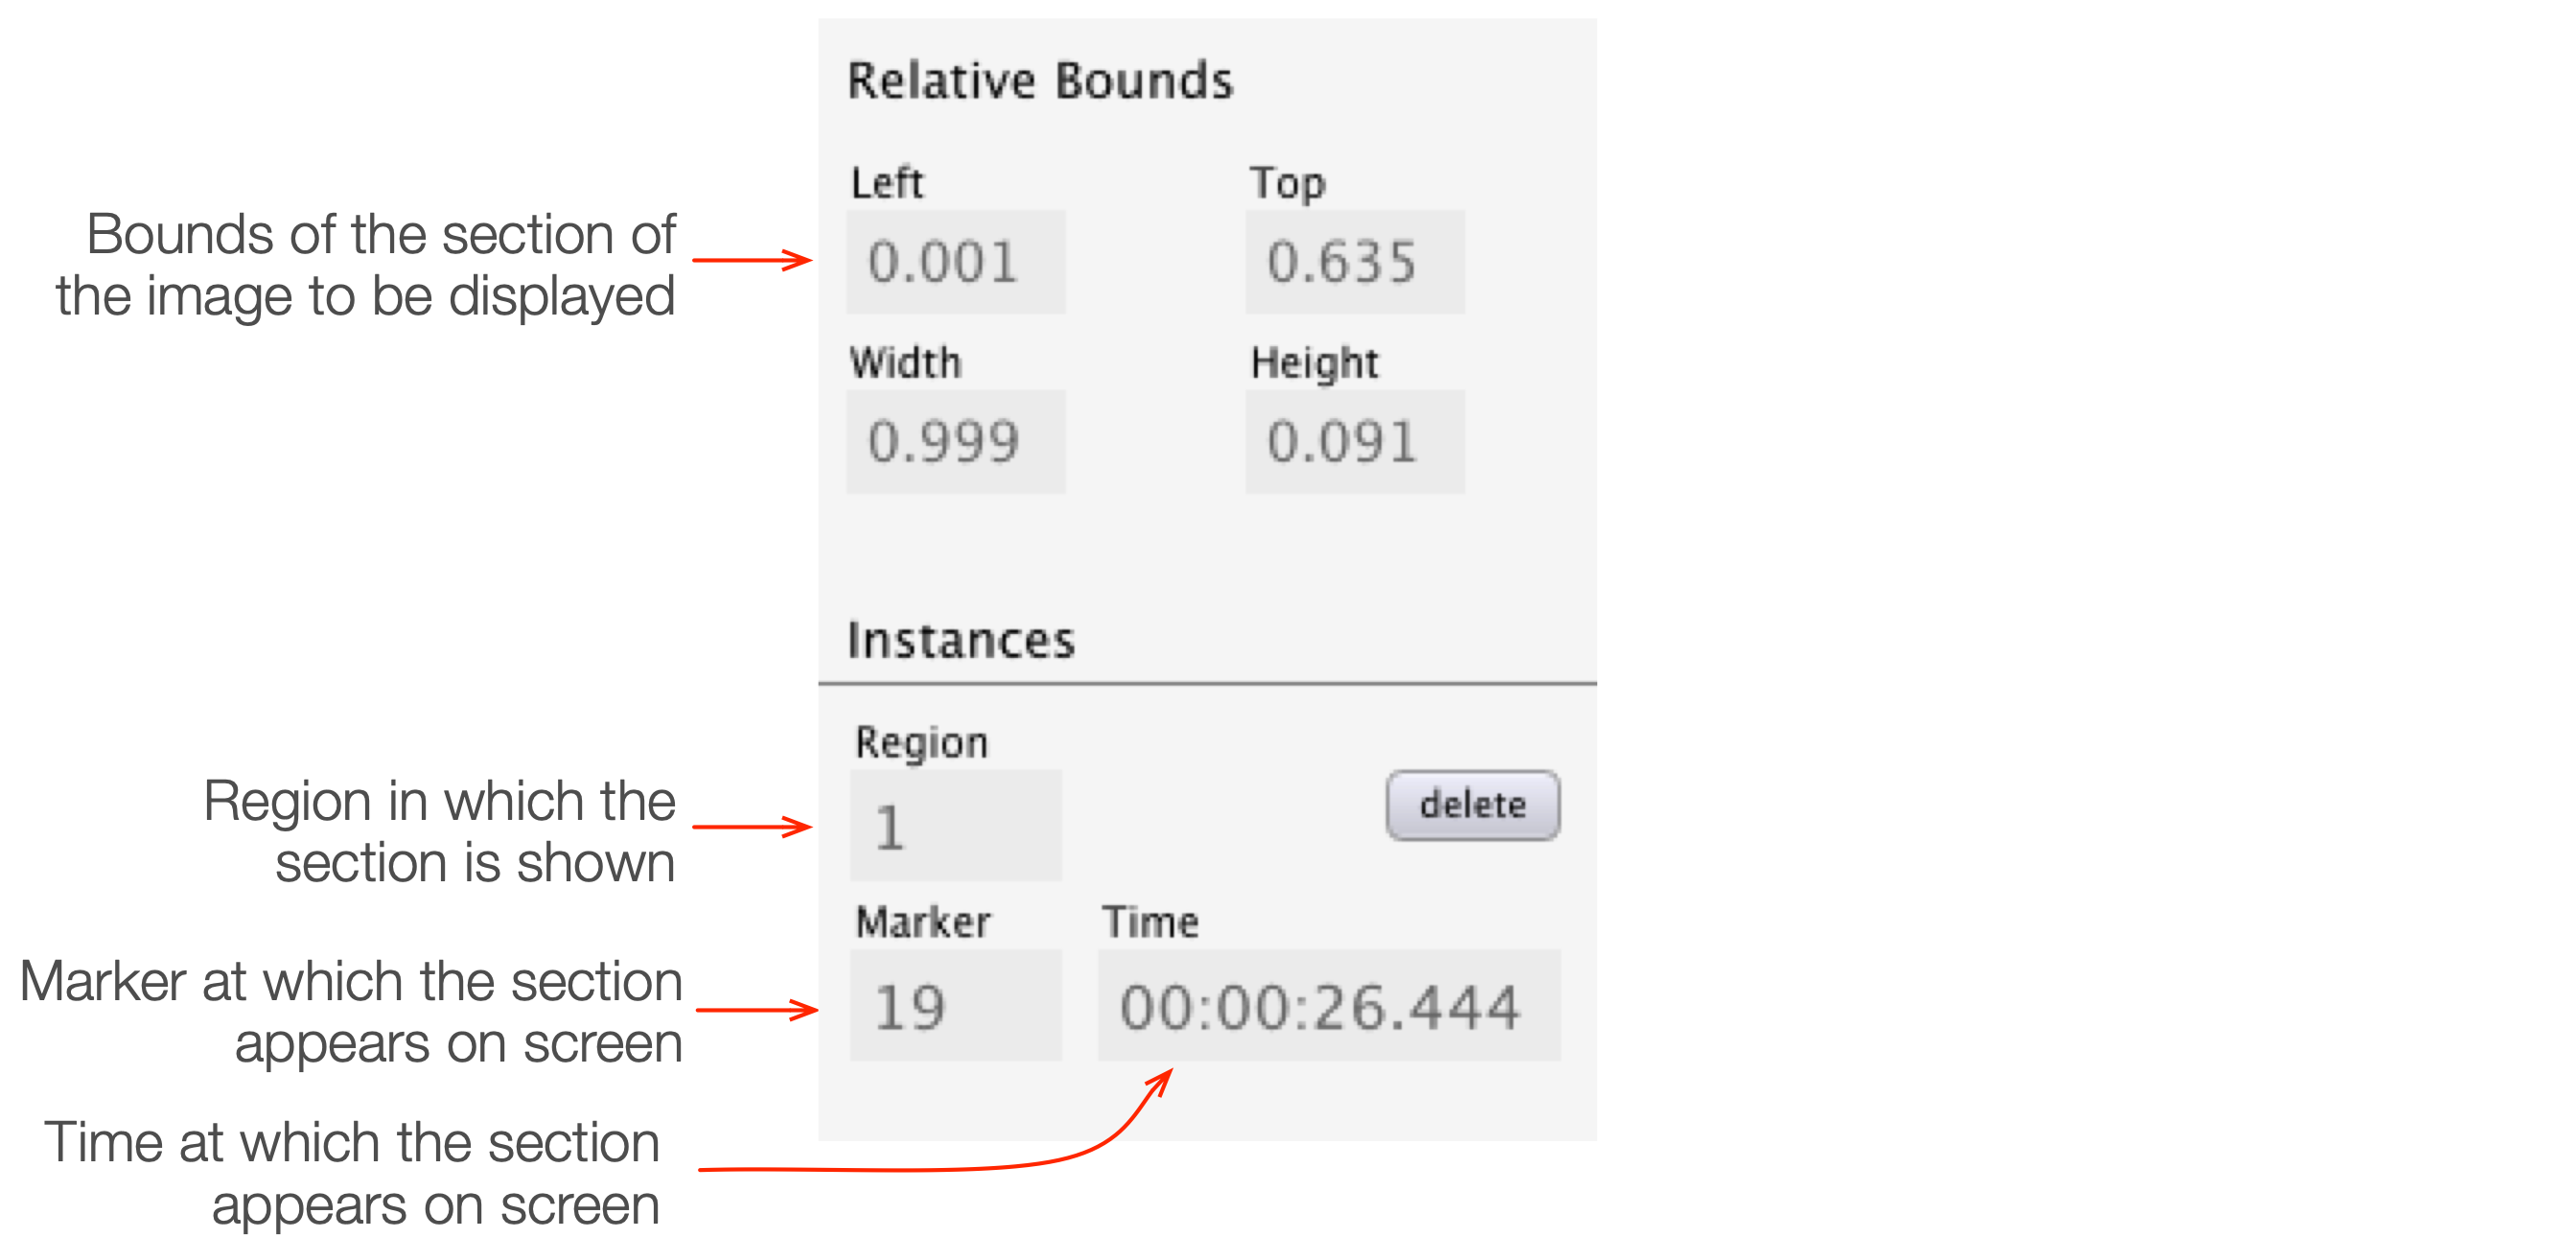
To create a new section, choose 'Add Section' from the 'Edit' menu. For each time in the course of a composition at which a section has to be shown on-screen, an instance of this section has to be defined. (There can be more than one instance for the same section in case the same section of the score appears several times.) An instance is displayed within a Region whose coordinates can be edited in the Region Editor. The time at which the instance appears is specified either by a marker or a time. If you type a marker (typically a bar number or rehearsal letter) in the corresponding input field, the appropriate time is set automatically. To create a new instance, choose 'Add Instance' from the 'Edit' menu.
Region Editor
A Region is a predefined area of the applications window in which instances of sections of images can be shown. To access the Region Editor, select 'Show Region Editor' from the 'View' menu. You can change the bounds of a region by dragging the handles at the edges of the blue rectangle, or by typing the coordinates in the corresponding input field. The values are relative to the size of the window, i.e. a width of 0.5 equals half the width of the window etc. To create a new region, choose 'Add Region' from the Edit menu.
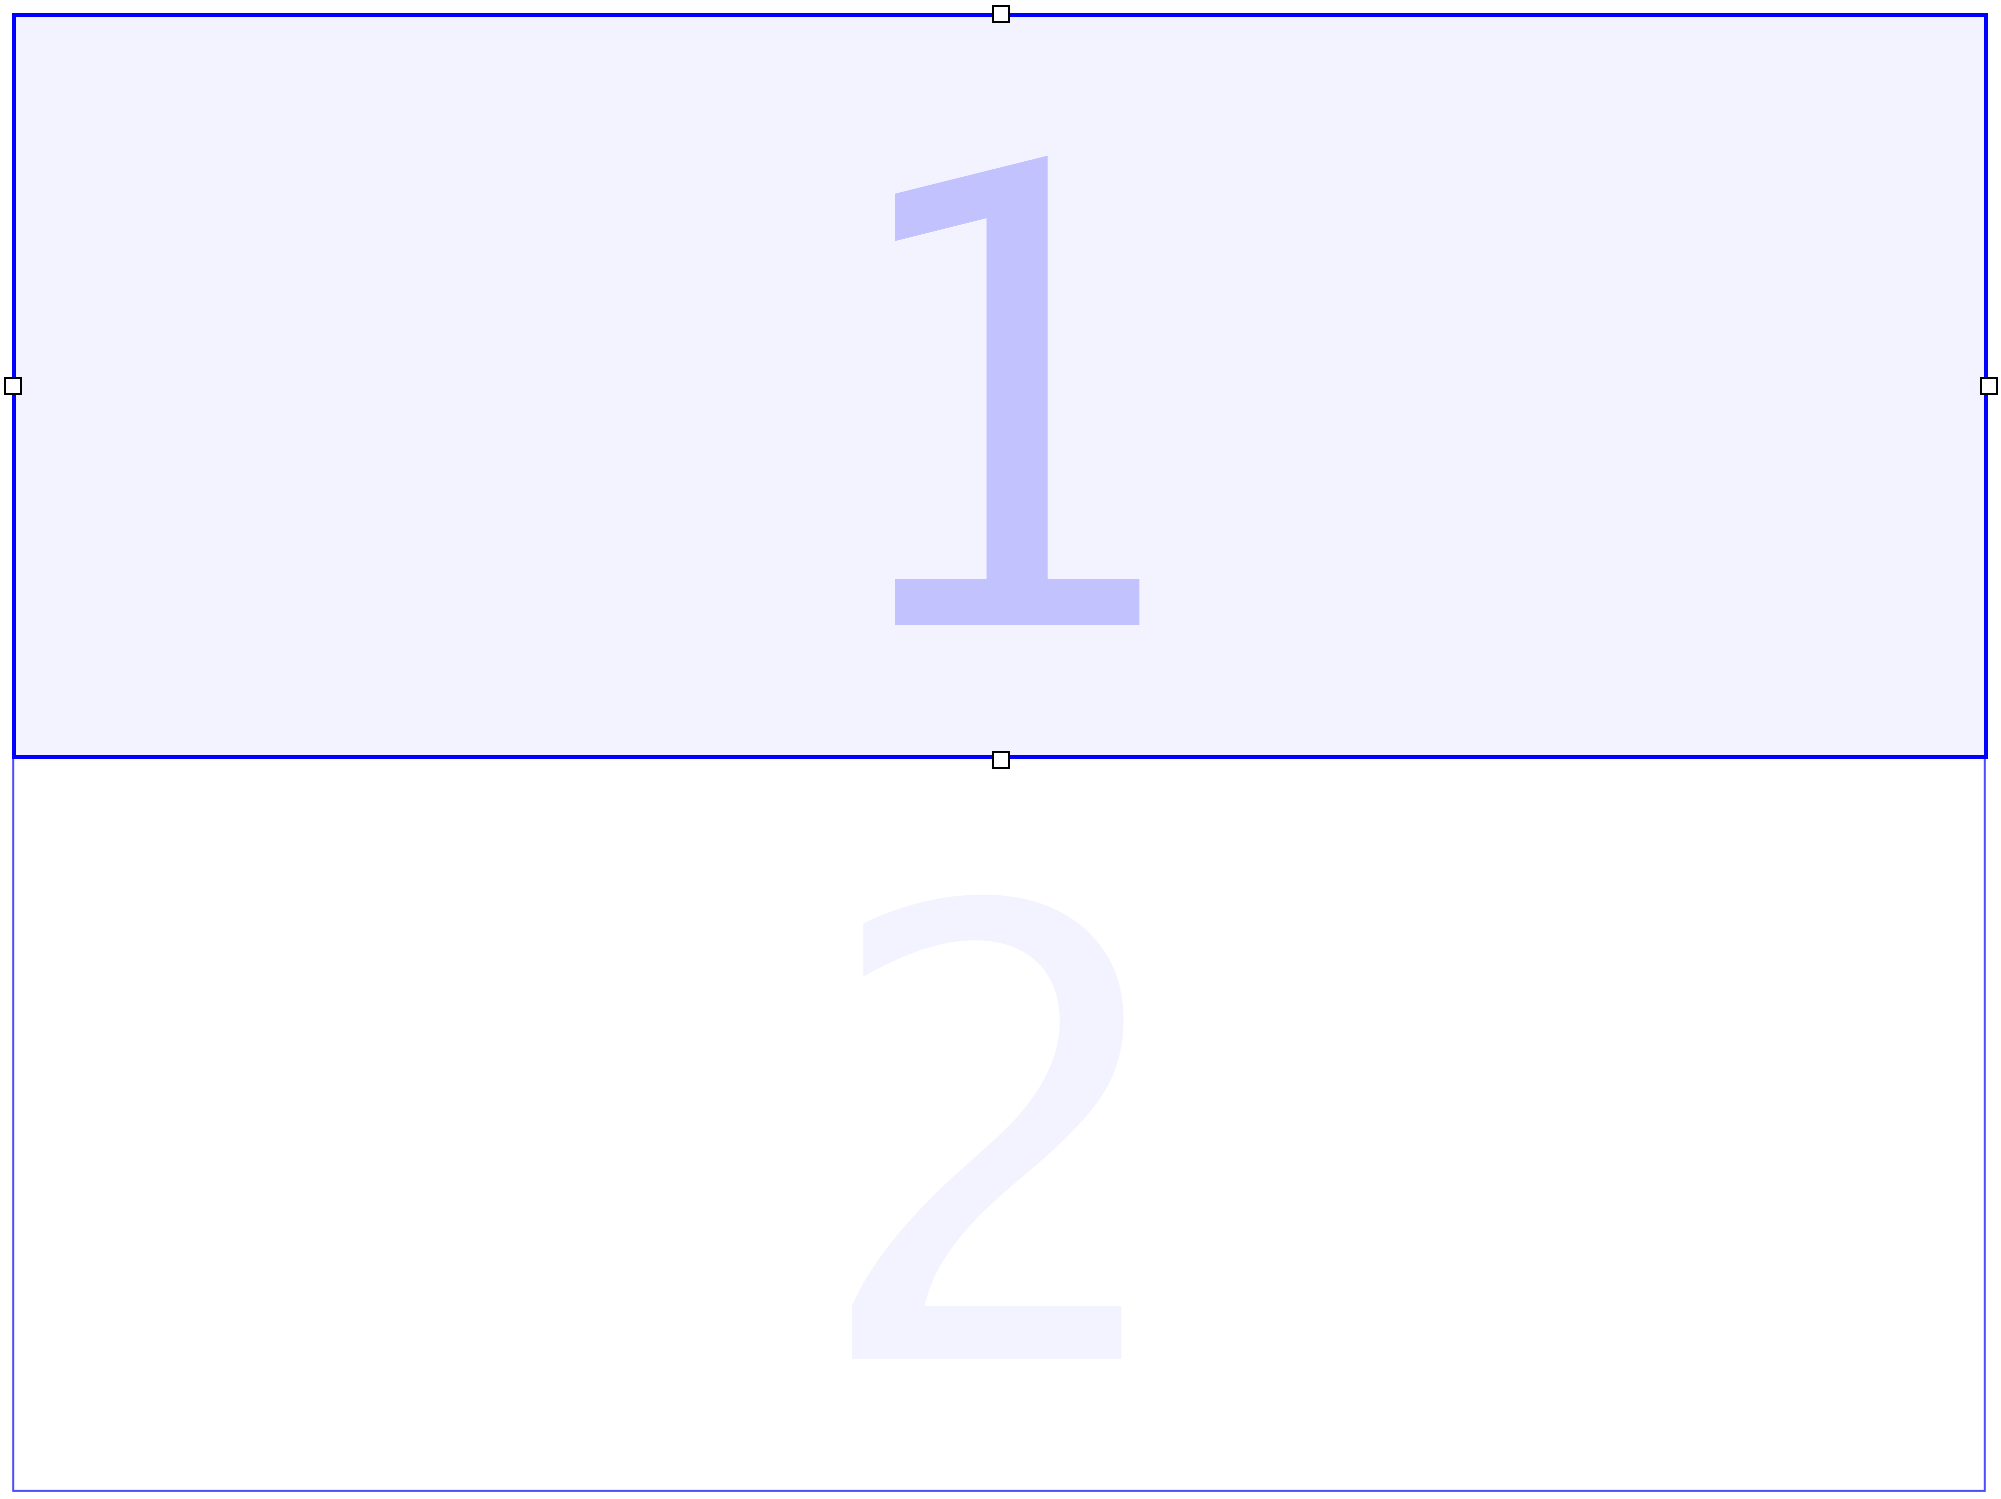
It is best practice to divide the screen into two regions. By changing the content of these two regions alternately, you can realise a smooth kind of "page-turning" where always that portion of the score is replaced at which the musician is currently not looking.
Score Editor
The Score Editor displays the JSON-formatted polytempo score verbatim. You should only make changes to this code if you are familiar with the JSON syntax, the structure of a polytempo score, and the concept of events.
To access the Score Editor select 'Show Score Editor' from the 'View' menu.
The Polytempo Score
The Polytempo score is a text file with the extension ptsco, formatted in JSON (a human-readable format that describes data in the form of name-value pairs). The score consists of two arrays. The first array must be named "init". The second array can have any arbitrary name (in the examples below, it is "default").
{
  "init" : [ ],
  "default" : [ ]
}
The "init" array contains all events that have to be executed before the music is played. Typically, these are events to load images, define regions on screen, etc. The events in this array do not need any time parameters as they are executed immediately after the score has been loaded.
The second array contains all events to be executed when the music is played. The events in this array need a time parameter to define the moment of their execution.
Every event is a JSON object structured as follows:
{ <event-type> : { <param1> : <val1>, <param2> : <val2>, ... <paramN> : <valN> }}
There are different types of events that take specific parameters as listed in the event glossary.
Below a short example of a Polytempo score:
{
  "init": [
    {"settings": {"name": "Promenade"}},
    {"addRegion": {"regionID": 1, "rect": [0, 0, 1, 0.5]}},
    {"addRegion": {"regionID": 2, "rect": [0, 0.5, 1, 0.5]}},
    {"loadImage": {"imageID": 1, "url": "mussorgsky.png"}},
    {"addSection": {"sectionID": 1, "imageID": 1, "rect": [0, 0, 1.0, 0.35]}},
    {"addSection": {"sectionID": 2, "imageID": 1, "rect": [0, 0.34, 1.0, 0.345]}},
    {"addSection": {"sectionID": 3, "imageID": 1, "rect": [0, 0.65, 1.0, 0.345]}}
    ],
  "default": [
    {"image": {"time": -1, "sectionID": 1, "regionID": 1}},
    {"image": {"time": -1, "sectionID": 2, "regionID": 2}},
    {"image": {"time": 30, "sectionID": 3, "regionID": 1}},
    {"marker": {"time": -1, "value": "0"}},
    {"beat": {"time": -1, "duration": 1, "pattern": 21, "cue": 1}},
    {"marker": {"time": 0, "value": "1"}},
    {"beat": {"time": 0, "duration": 1, "pattern": 12}},
    {"beat": {"time": 1, "duration": 1, "pattern": 22}},
    {"beat": {"time": 2, "duration": 1, "pattern": 22}},
    {"beat": {"time": 3, "duration": 1, "pattern": 22}},
    {"beat": {"time": 4, "duration": 1, "pattern": 21}},
    {"marker": {"time": 5, "value": "2"}},
    {"beat": {"time": 5, "duration": 1, "pattern": 12}},
    {"beat": {"time": 6, "duration": 1, "pattern": 22}},
    {"beat": {"time": 7, "duration": 1, "pattern": 22}},
    {"beat": {"time": 8, "duration": 1, "pattern": 22}},
    {"beat": {"time": 9, "duration": 1, "pattern": 22}},
    {"beat": {"time": 10, "duration": 1, "pattern": 21}},
    {"marker": {"time": 11, "value": "3"}},
    {"beat": {"time": 11, "duration": 1, "pattern": 12}},
    {"beat": {"time": 12, "duration": 1, "pattern": 22}},
    {"beat": {"time": 13, "duration": 1, "pattern": 22}},
    {"beat": {"time": 14, "duration": 1, "pattern": 22}},
    {"beat": {"time": 15, "duration": 1, "pattern": 21}},
    {"marker": {"time": 16, "value": "4"}},
    {"beat": {"time": 16, "duration": 1, "pattern": 12}},
    {"beat": {"time": 17, "duration": 1, "pattern": 22}},
    {"beat": {"time": 18, "duration": 1, "pattern": 22}},
    {"beat": {"time": 19, "duration": 1, "pattern": 22}},
    {"beat": {"time": 20, "duration": 1, "pattern": 22}},
    {"beat": {"time": 21, "duration": 1, "pattern": 21}}
  ]
}
Comments
JSON doesn’t support comments. However, you have the possibility to add parameters to events that function as comments. The comment can have any name. Make sure that it doesn't interfere with an existing parameter name.
{"beat": {"time": 0, "duration": 1, "pattern": 12, "comment": "This is the first beat of the intro"}},
If you don't want to attach your comment to another event, you can also use a comment-event.
Don't forget to include a time parameter as PolytempoNetwork sorts the score always by time.
{"#": {"time" : 100, "value": "This is a comment at 100 seconds"}